

Have you ever wondered if it’s really possible to create a professional website in just one day?
The answer is yes — absolutely! Thanks to WordPress and modern web tools, you can launch a stunning website in a few hours without writing a single line of code.
Whether you’re a small business owner, freelancer, or digital agency, this guide will walk you through how to make a WordPress website in one day using a streamlined process — focusing on ready-made templates, drag-and-drop builders, and automated tools.
How to Create a WordPress Website – Yadav Digital
Let’s get started!
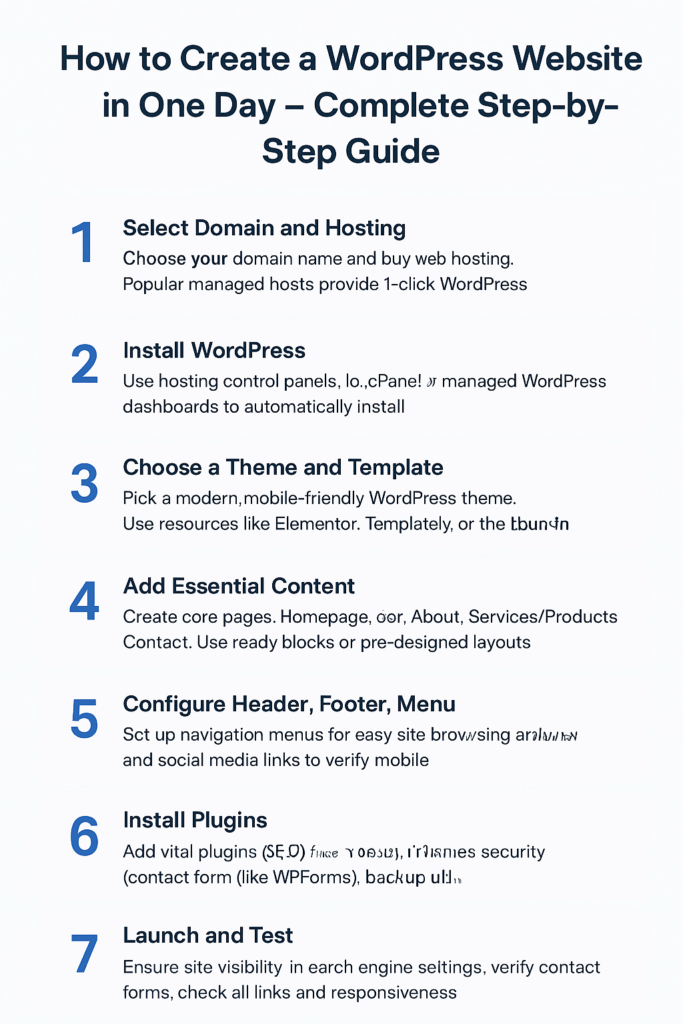
Step 1: Select Domain and Hosting
Your journey starts with choosing a domain name (like www.yourbrand.com) and purchasing web hosting.
Most popular hosting providers like Hostinger, Bluehost, SiteGround, or Namecheap offer 1-click WordPress installation, saving you time and technical effort.
Here’s how to choose wisely:
- Pick a short, memorable domain name related to your business.
- Choose managed WordPress hosting — it’s optimized for performance and includes automatic updates.
- Connect your domain to your hosting account — most hosts guide you step by step.
🕒 Time Needed: ~30 minutes
Step 2: Install WordPress
Next, you’ll install WordPress — the world’s most popular website builder.
Most web hosts have 1-click install options in their control panels (like cPanel, Plesk, or custom dashboards).
Here’s how it works:
- Log in to your hosting account.
- Find the “Install WordPress” or “Auto Installer” option.
- Enter your domain, website name, and admin login details.
- Click Install — WordPress will set up everything automatically.
If you prefer manual setup, you can upload the WordPress files from wordpress.org — but the 1-click method is faster.
🕒 Time Needed: ~10 minutes
Step 3: Choose a Theme and Template
Once WordPress is installed, it’s time to give your site a beautiful design.
Choose a modern, mobile-friendly theme that matches your brand or business type.
Recommended Options:
- Free themes: Astra, OceanWP, Blocksy, Kadence.
- Premium or GPL themes: Use sites like SrmehronClub or GPLJi for affordable access.
- Page Builders: Elementor, Templately, or Spectra for drag-and-drop page design.
After installing your theme:
- Import a ready-made template (many come with demo sites).
- Replace sample text and images with your own.
- Adjust colors, logo, and fonts to reflect your brand.
🕒 Time Needed: ~20 minutes
Step 4: Add Essential Content
Every website needs core pages that explain your services or products.
Start by creating these pages from your WordPress dashboard:
- Homepage – Introduce your brand.
- About – Share your story or mission.
- Services / Products – Describe what you offer.
- Contact – Add your location, phone, email, or contact form.
Use Elementor or your theme’s built-in editor to add text, images, and buttons.
You can also insert pre-built content blocks for faster design.
🕒 Time Needed: ~60 minutes
Step 5: Configure Header, Footer, and Menu
Your header, footer, and menu help visitors navigate easily.
Do the following:
- Add your logo and brand name to the header.
- Create a navigation menu linking to your main pages.
- Add social media icons, a copyright note, and contact info in the footer.
- Finally, check how your site looks on mobile devices — make sure it’s responsive.
🕒 Time Needed: ~20 minutes
Step 6: Install Essential Plugins
Plugins add powerful features to your website with just a few clicks.
Here are the must-have plugins for a new website:
| Purpose | Plugin |
|---|---|
| SEO Optimization | Rank Math or Yoast SEO |
| Contact Form | WPForms or Contact Form 7 |
| Security | iThemes Security or Wordfence |
| Backup | UpdraftPlus or Jetpack Backup |
| Speed Optimization | WP Rocket or LiteSpeed Cache |
You can find all these plugins for free in the WordPress Plugin Library or as GPL versions for agencies.
🕒 Time Needed: ~20 minutes
Step 7: Launch and Test Your Website
You’re almost done! Before going live, take a few minutes to test everything.
✅ Final Checklist Before Launch:
- Ensure your website is visible to search engines (
Settings > Reading > Uncheck discourage search engines). - Test all contact forms and buttons.
- Check all links and images work properly.
- Review your website on mobile, tablet, and desktop.
- Set up automatic backups and enable SSL (https).
Once everything looks good, click Publish — congratulations, your website is live! 🎉
🕒 Time Needed: ~20 minutes
Expert Tips for Faster Results
To save even more time and improve performance:
- ✅ Use managed WordPress hosting for automatic setup.
- ✅ Install Elementor for easy drag-and-drop editing.
- ✅ Use ready-to-import templates for instant design.
- ✅ Compress images with WP Smush or ShortPixel for faster loading.
- ✅ Always update WordPress, themes, and plugins before launching.
These steps ensure your site is fast, secure, and SEO-ready — even if you built it in just one day!
Quick Reference Table
| Step | Key Action | Time Needed |
|---|---|---|
| Domain & Hosting | Select, buy, and connect | 30 mins |
| Install WordPress | Use 1-click install | 10 mins |
| Theme & Template | Choose and import | 20 mins |
| Content Creation | Edit key pages | 60 mins |
| Plugins | Install essentials | 20 mins |
| Testing & Launch | Review and go live | 20 mins |
🕓 Total Time: Around 3 hours (can be done in one day easily!)
Final Thoughts
Building a WordPress website in one day is not only possible — it’s practical and efficient with today’s tools.
By using ready-made templates, page builders, and 1-click installs, you can have your professional site online in just a few hours.
Whether it’s for your business, portfolio, or blog — this simple method helps you launch fast and look professional without hiring a developer.
For any help please visit Yadav Digital